Out & back
Easy
Photo Gallery
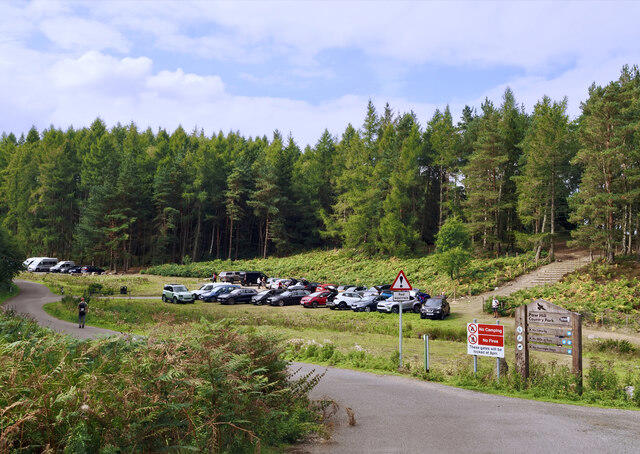
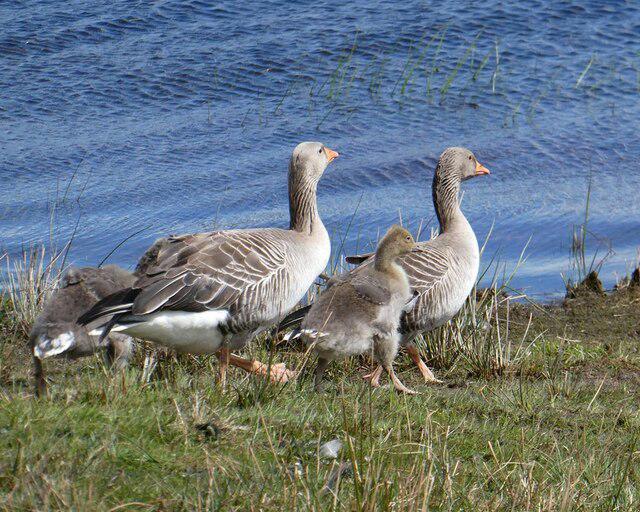
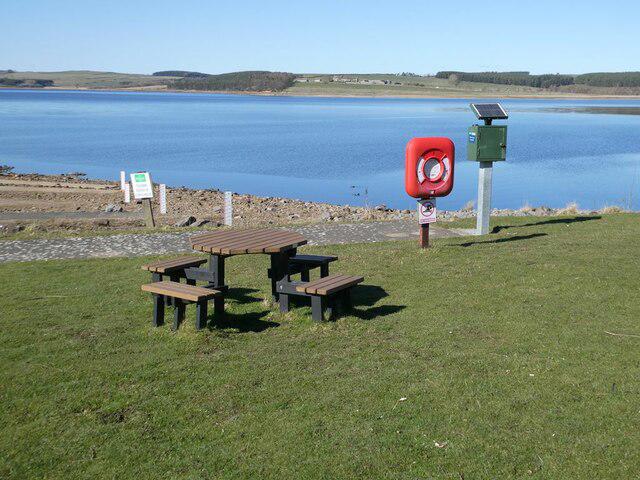
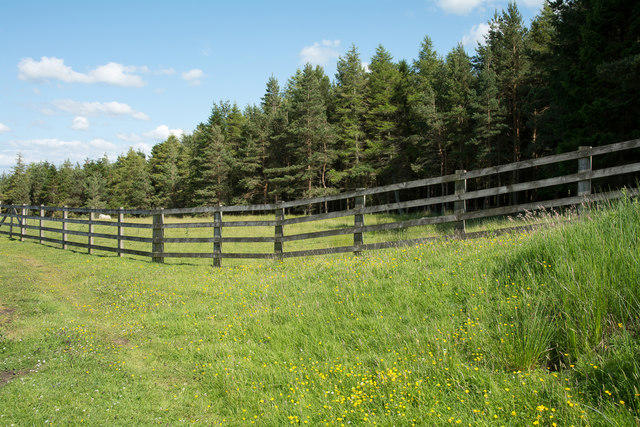
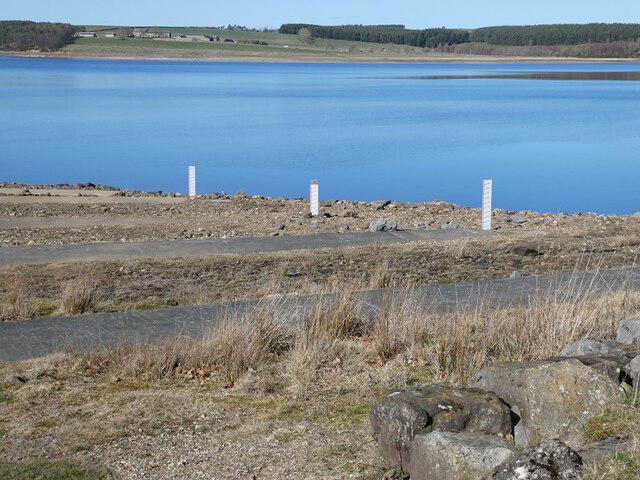
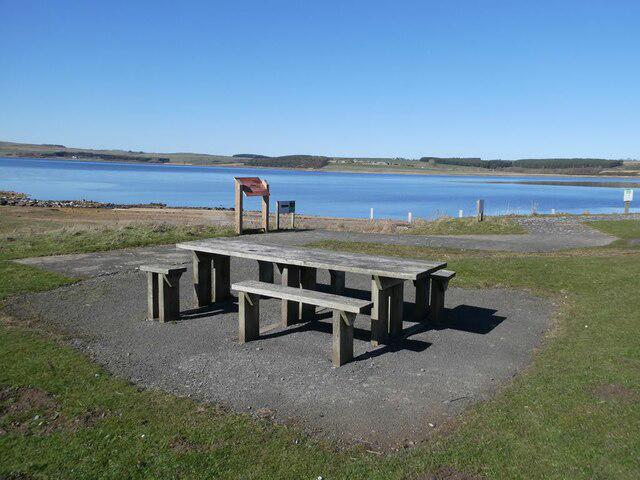
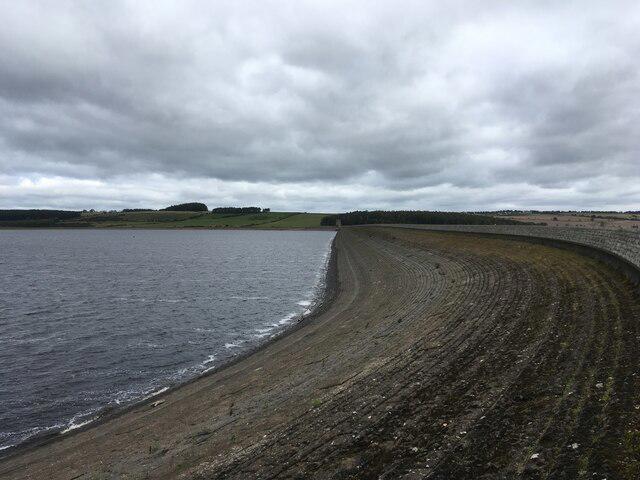
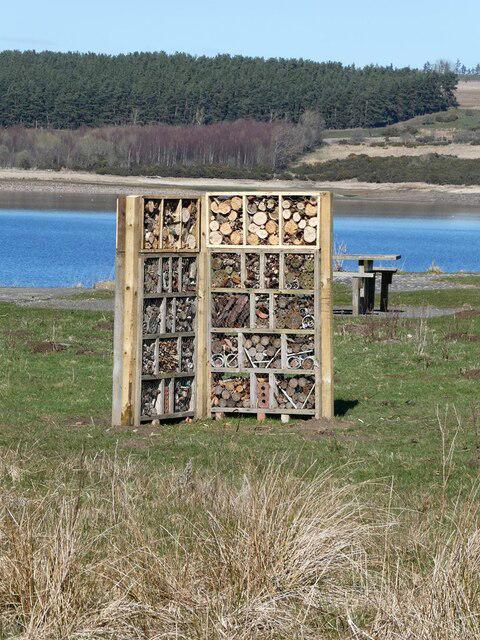
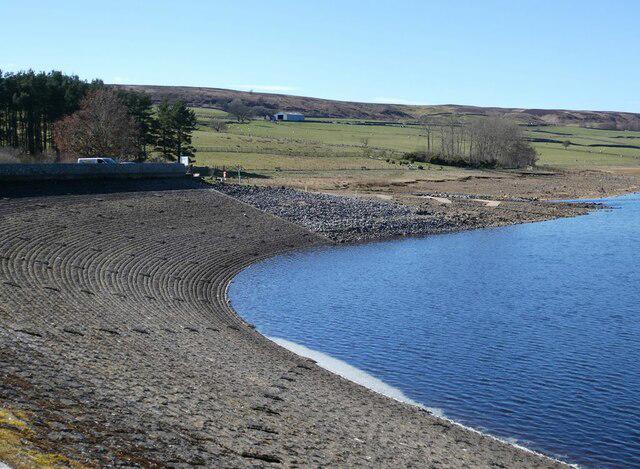
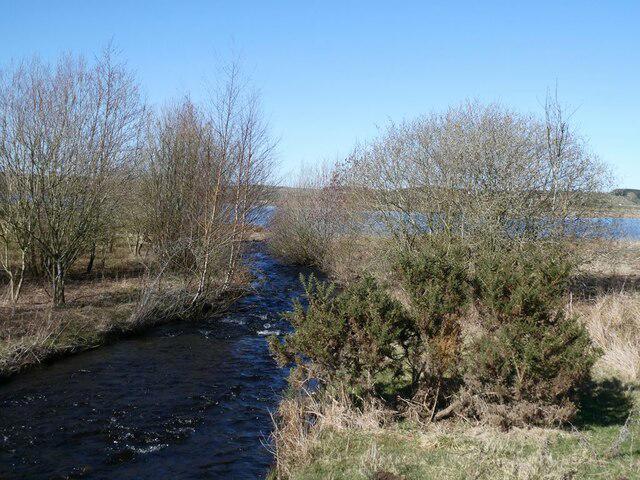
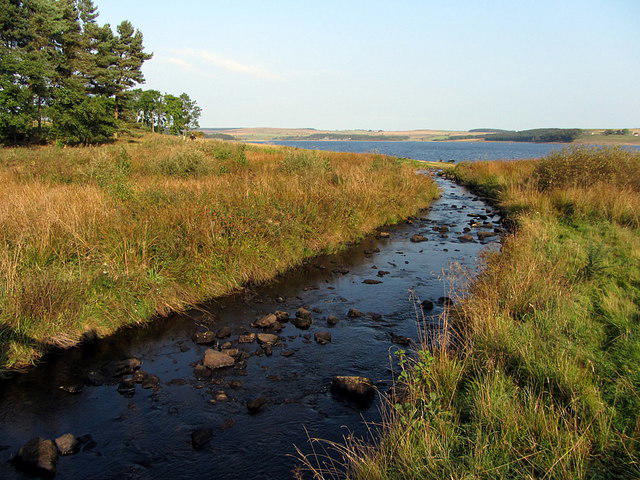
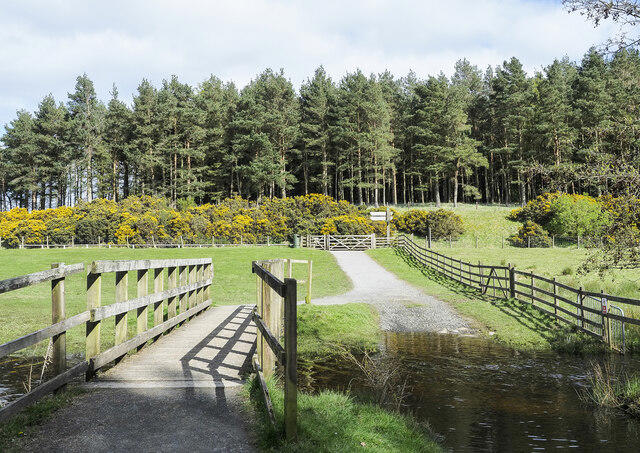
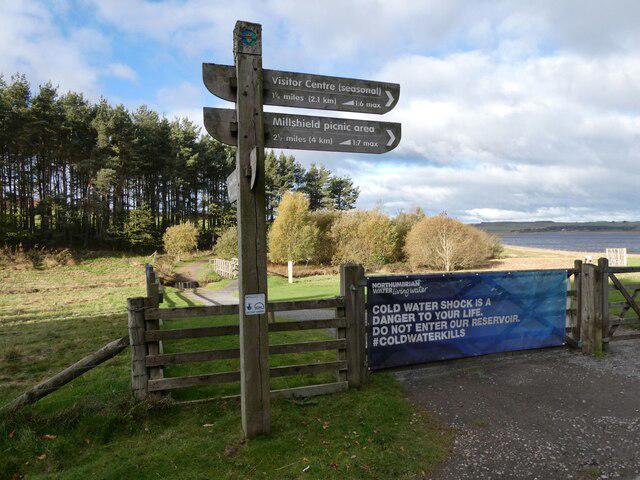
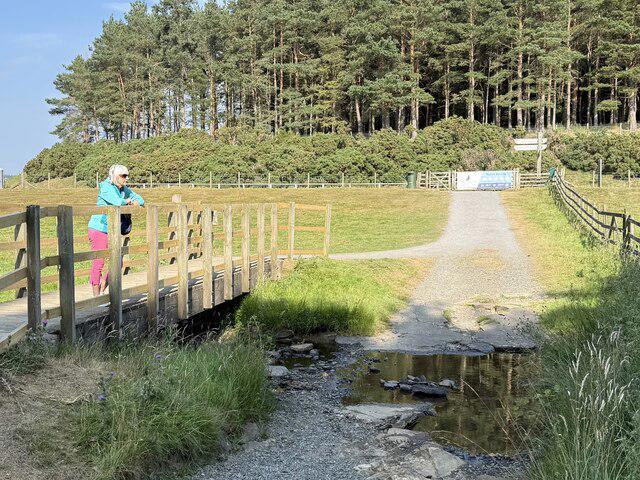
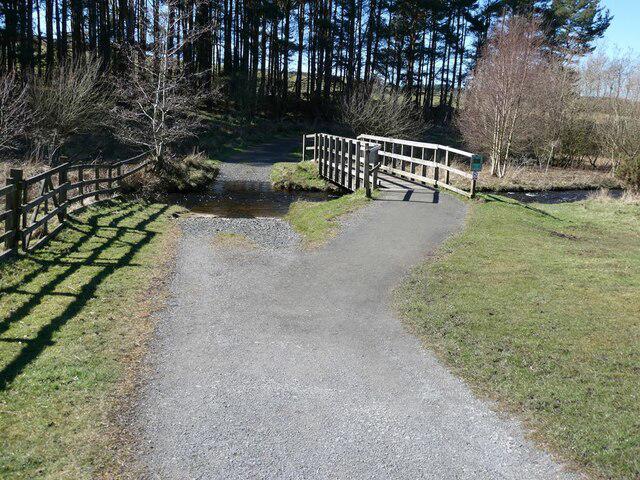
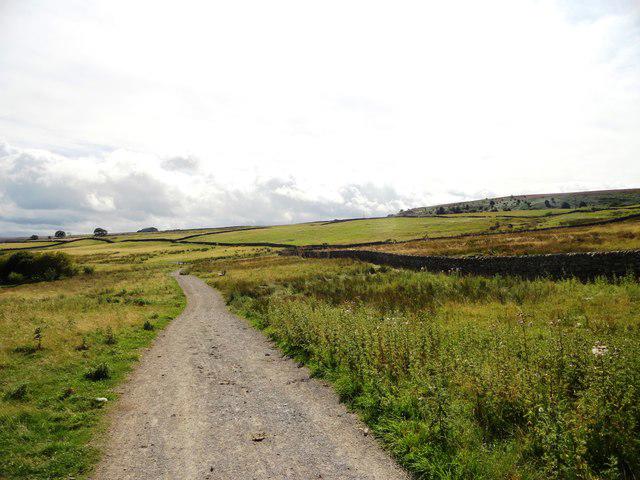
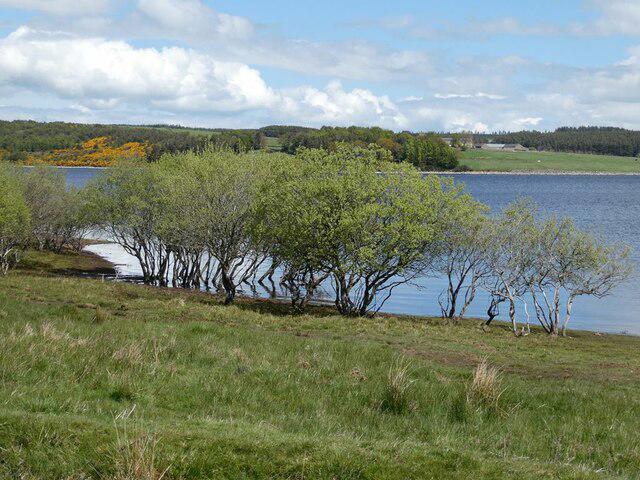
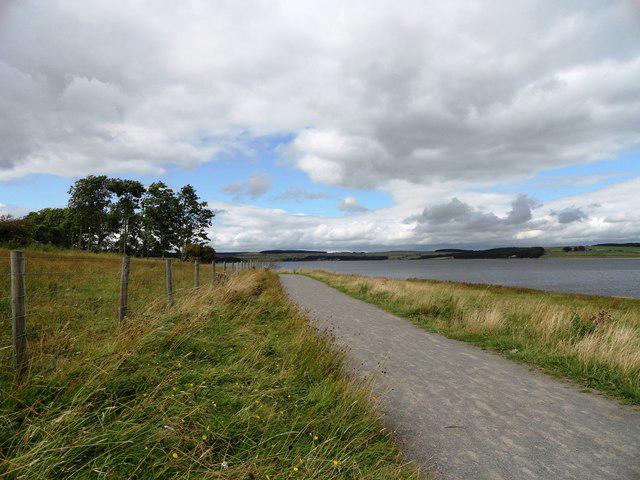
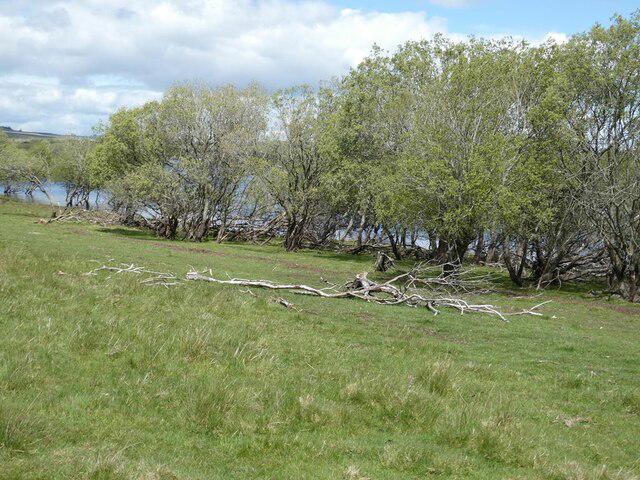
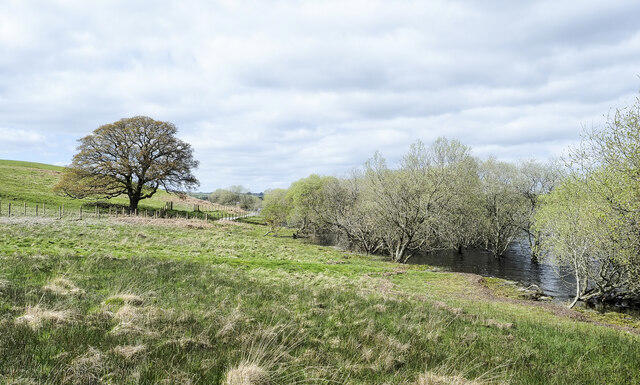
46 photos from Derwent Reservoir, Pow Hill to the Dam
 Walkmates
46 photos from Derwent Reservoir, Pow Hill to the Dam