Out & back
Easy
Photo Gallery
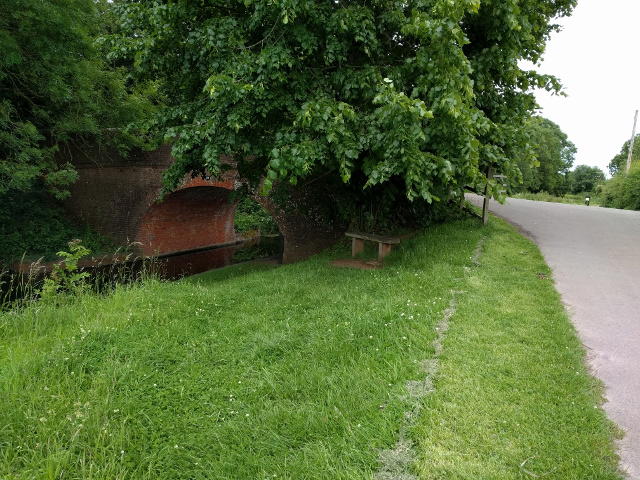
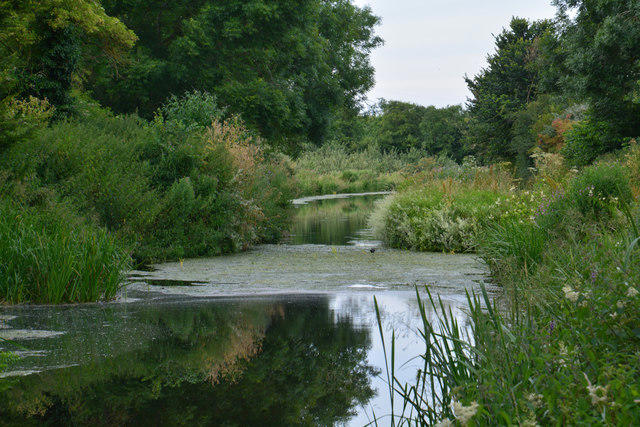
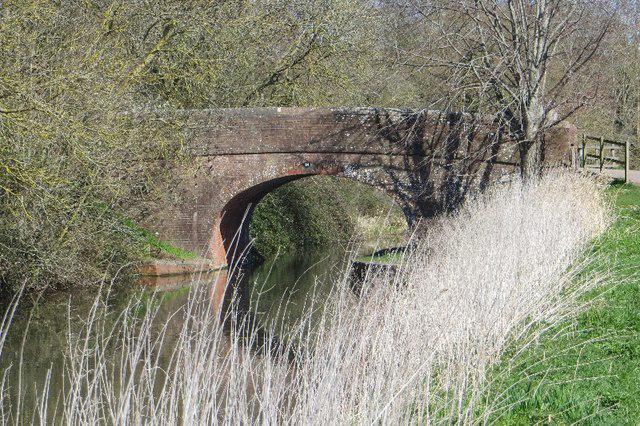
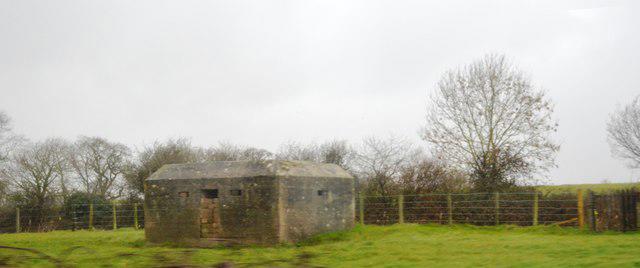
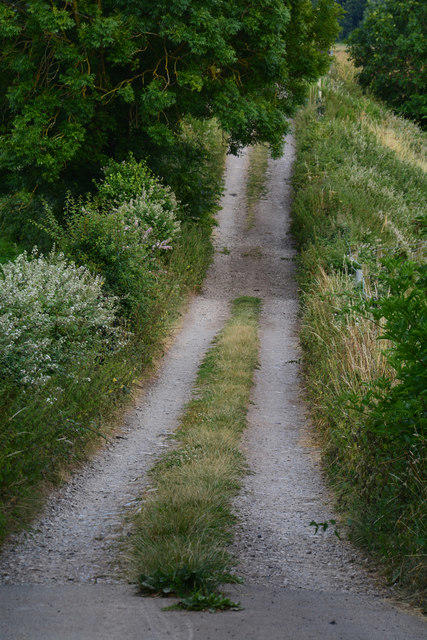
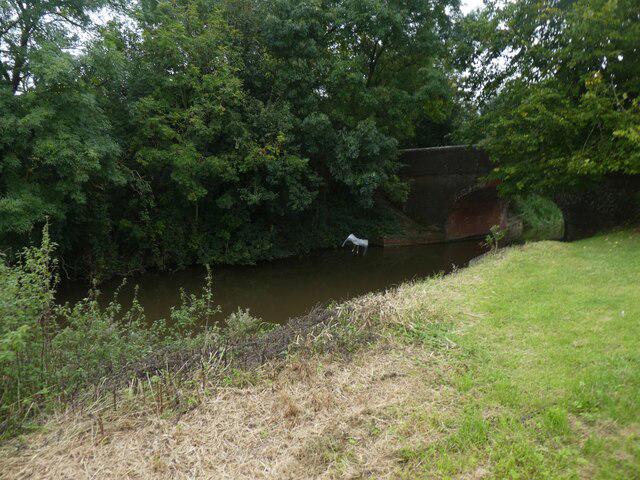
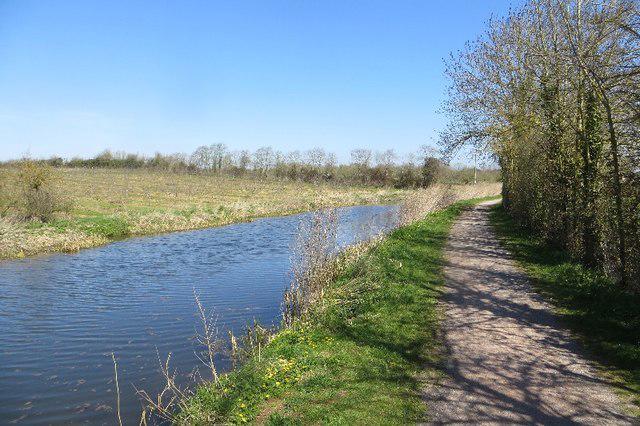
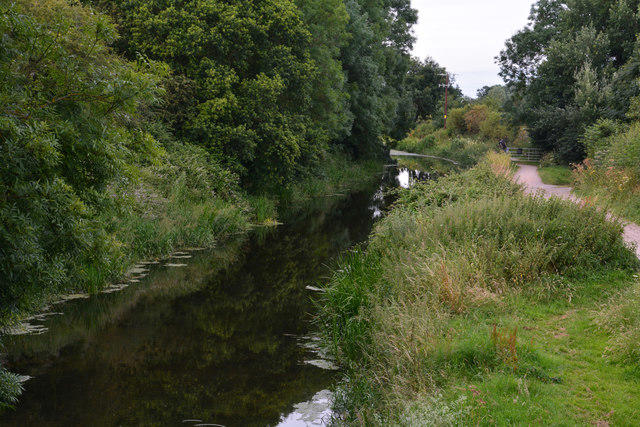
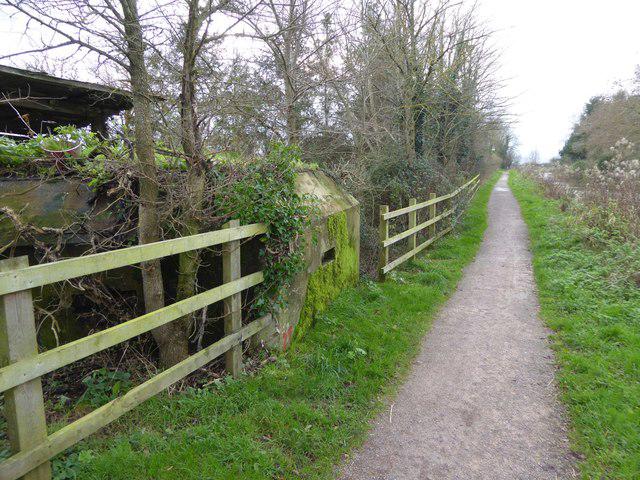
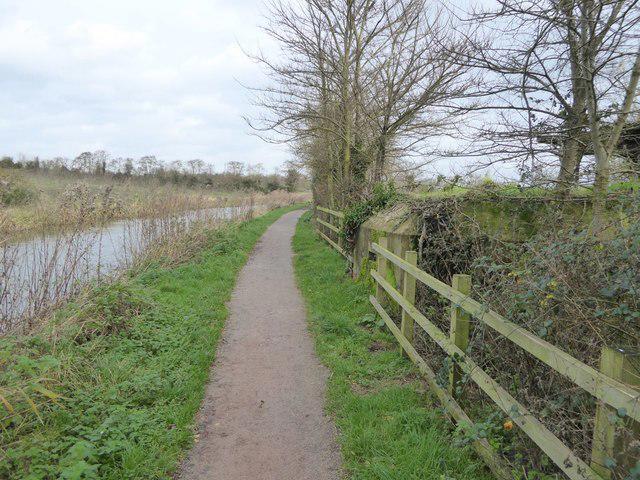
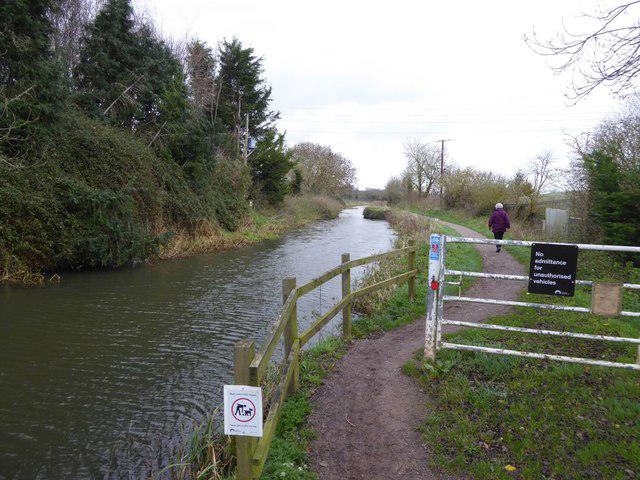
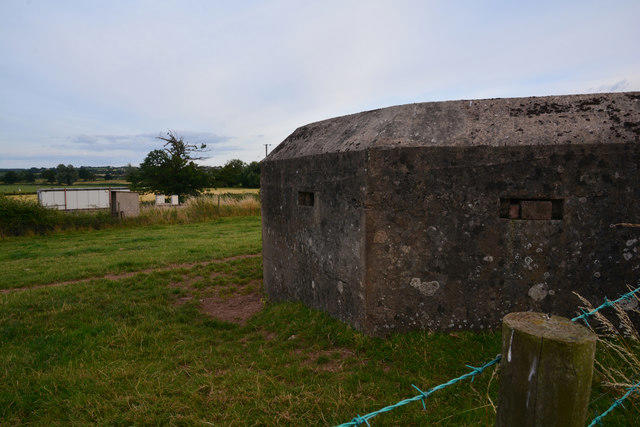
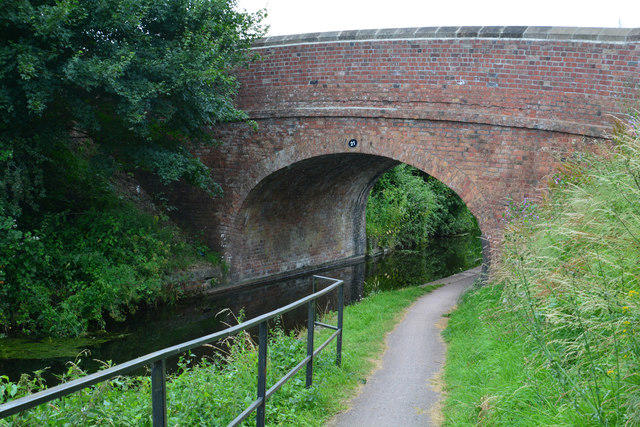
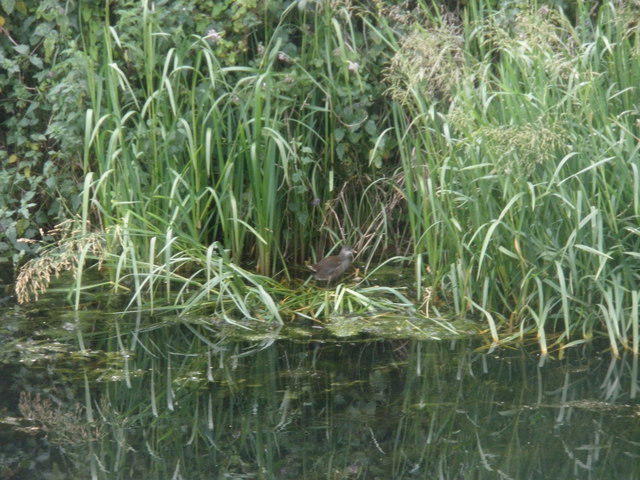
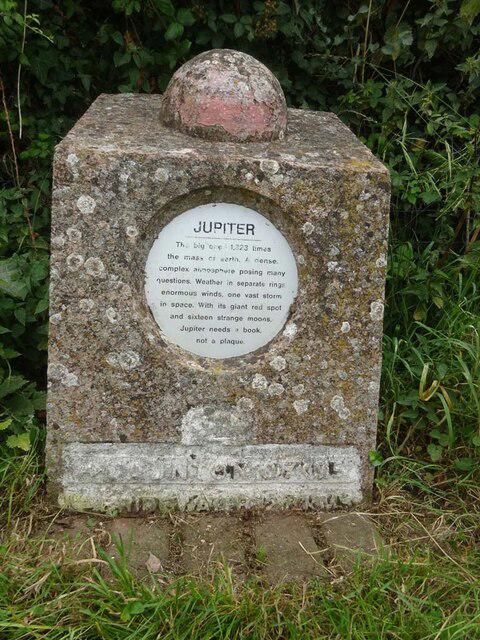
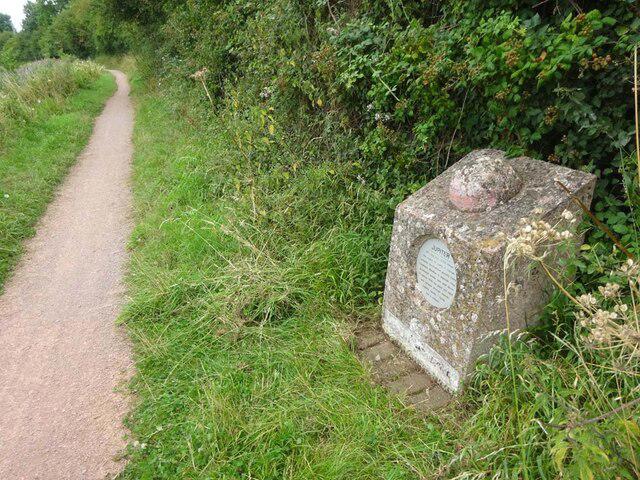
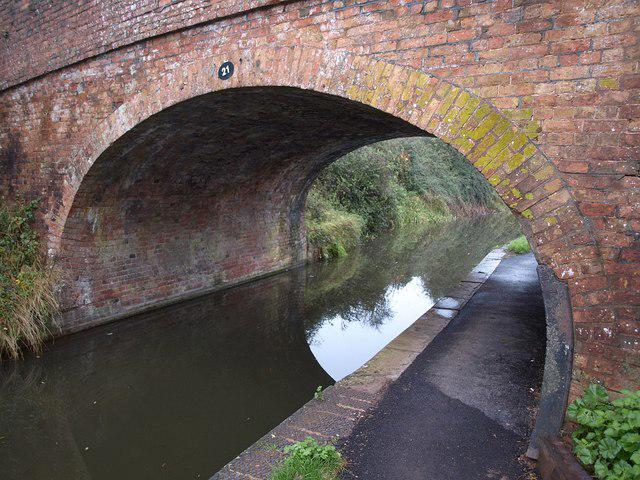
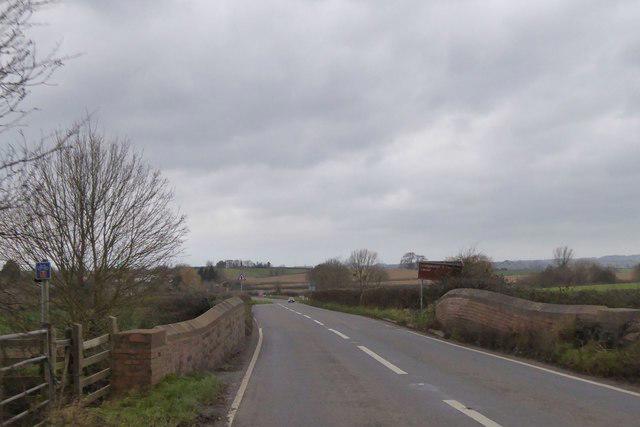
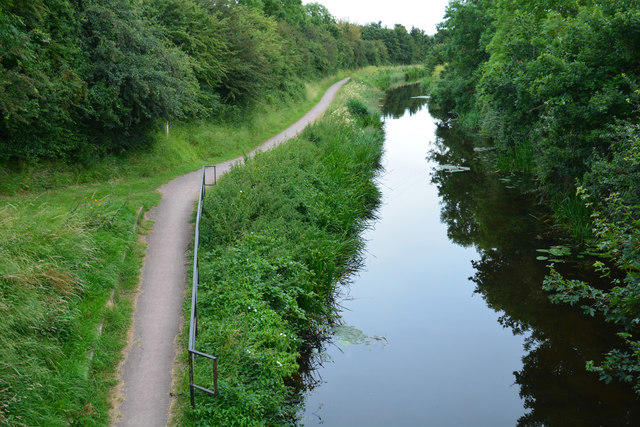
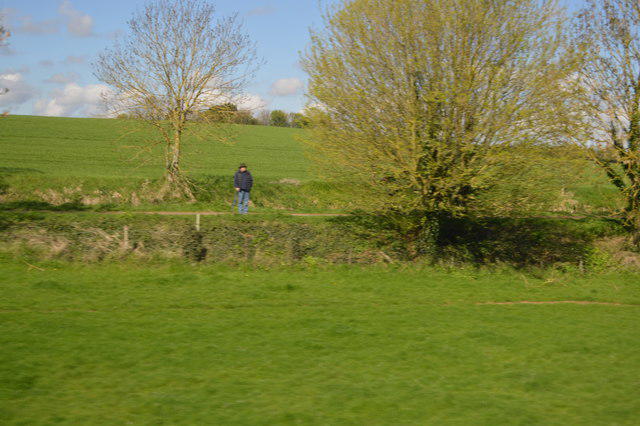
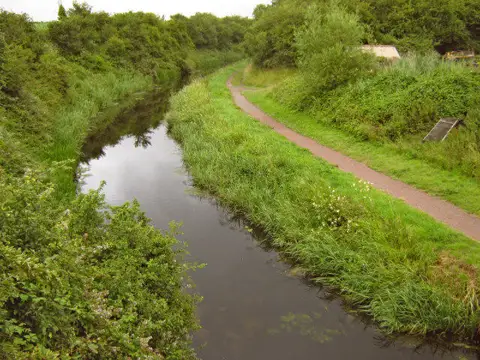
174 photos from Maunsel Lock to Charlton Bridge: Durston and Cogload canal return
 Walkmates
174 photos from Maunsel Lock to Charlton Bridge: Durston and Cogload canal return