Out & back
Easy
Photo Gallery
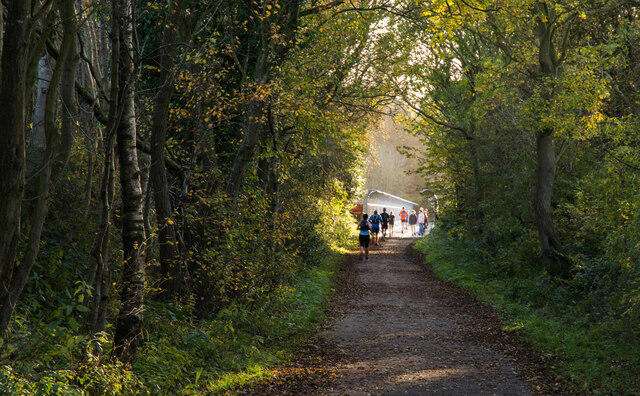
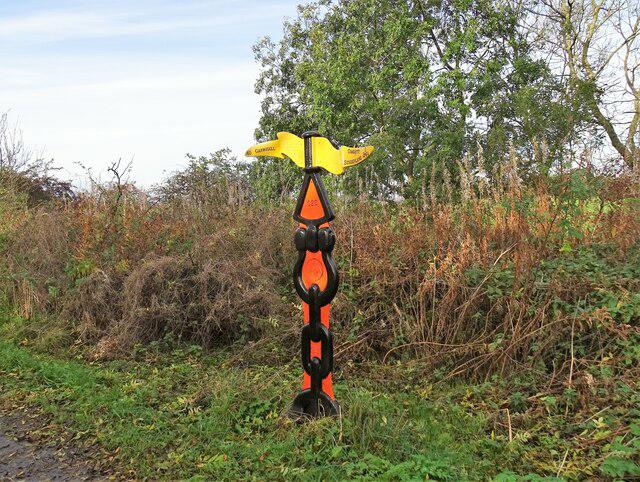
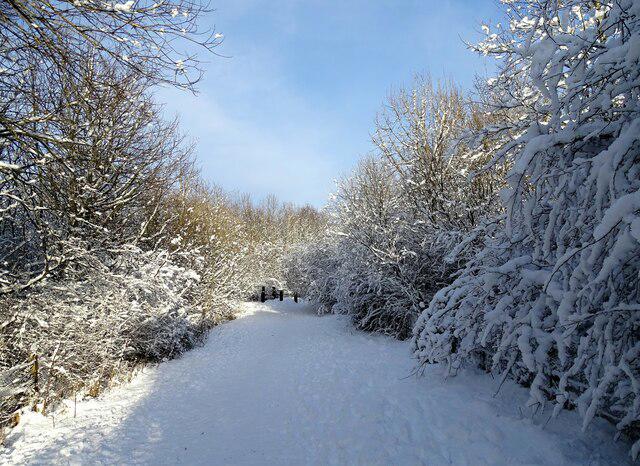
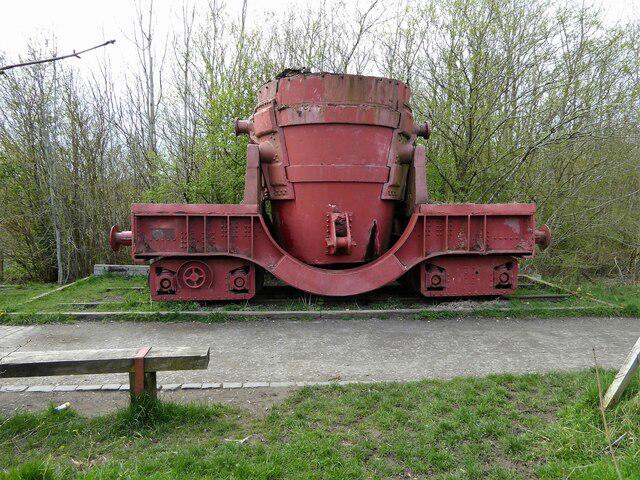
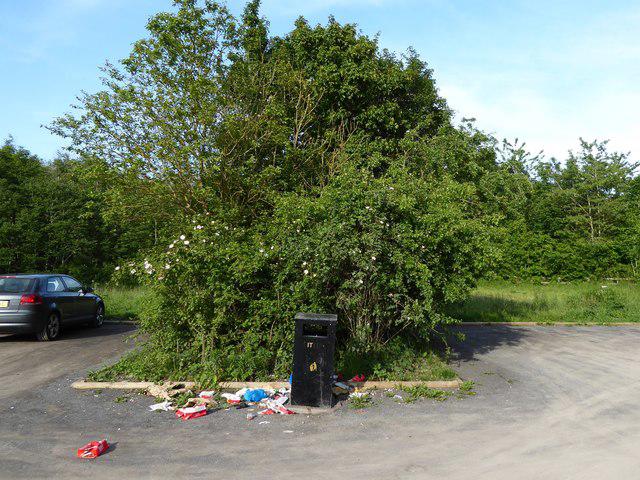
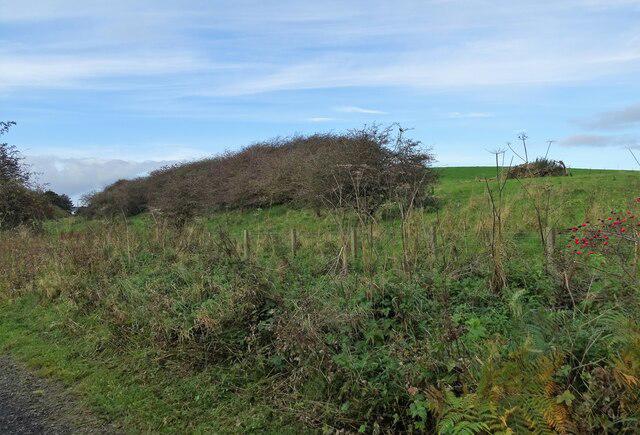
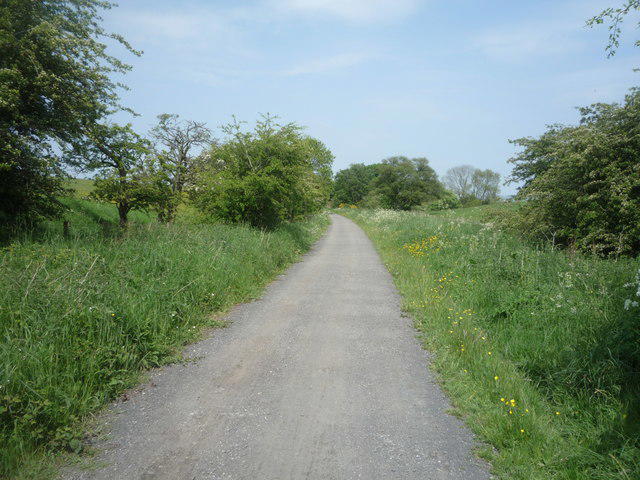
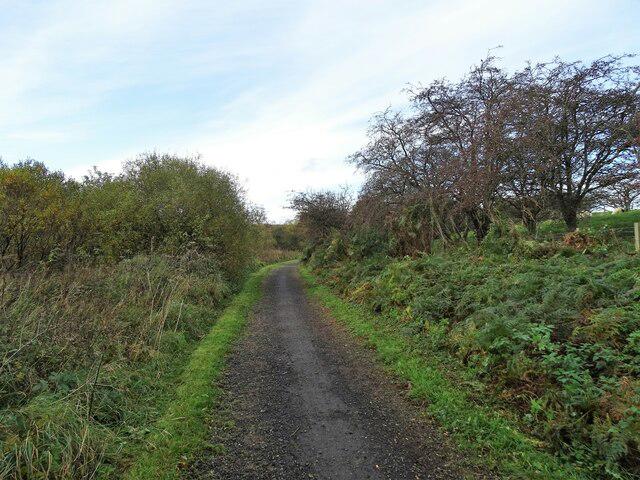
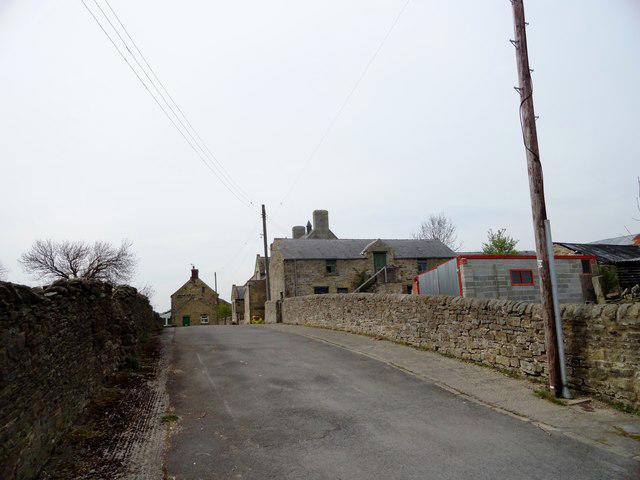
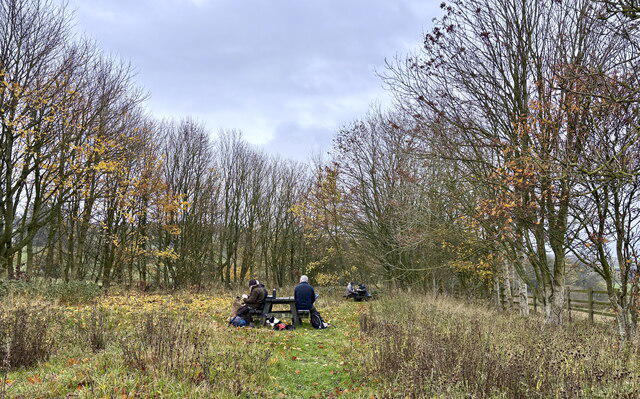
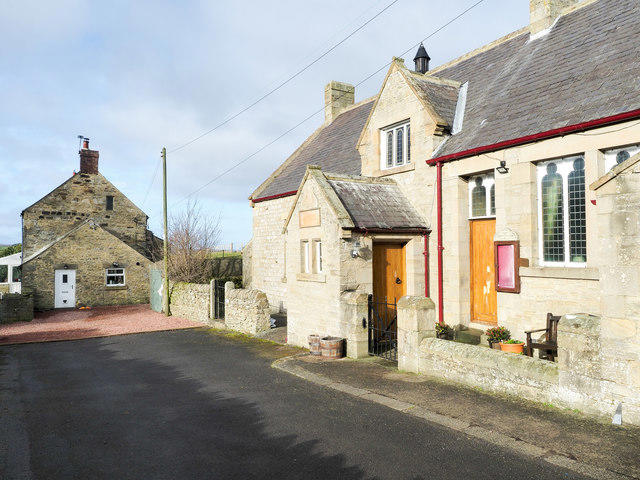
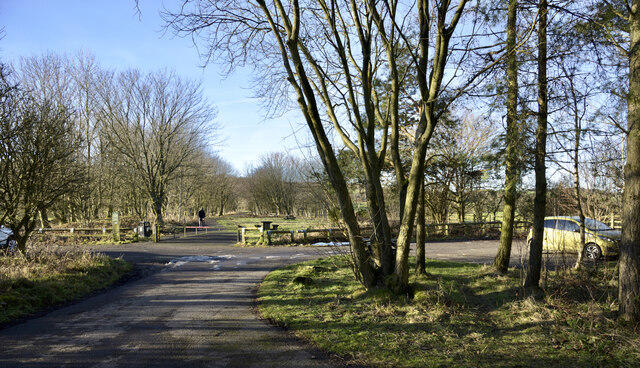
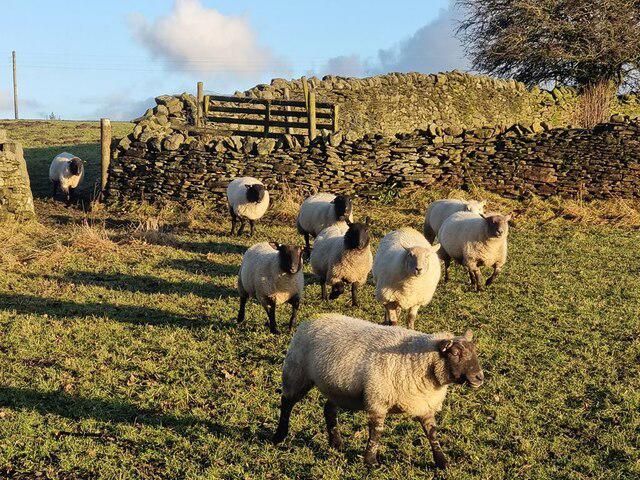
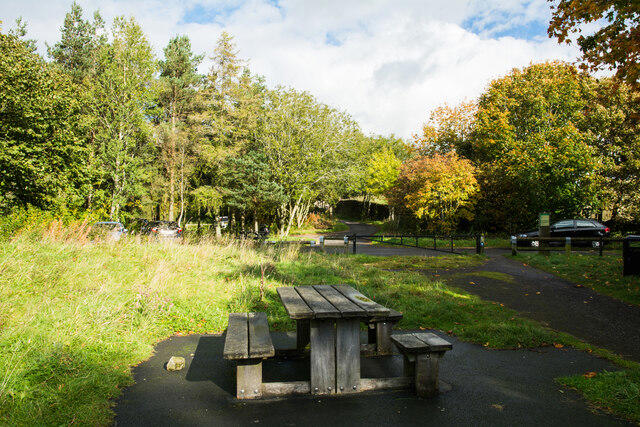
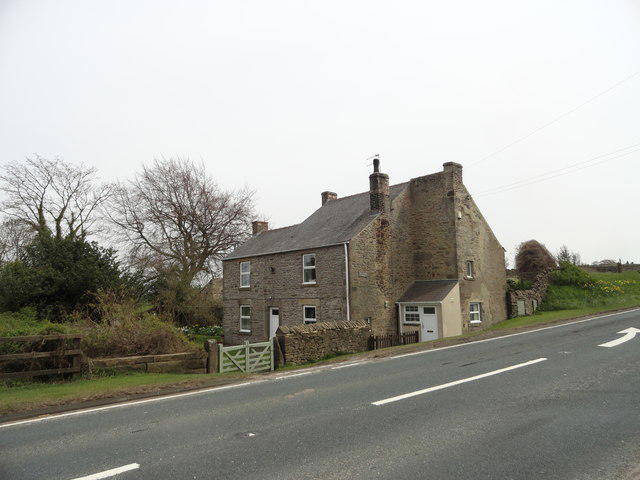
81 photos from Waskerley Way, Hownsgill Viaduct and Rowley
 Walkmates
81 photos from Waskerley Way, Hownsgill Viaduct and Rowley