Out & back
Easy
Photo Gallery
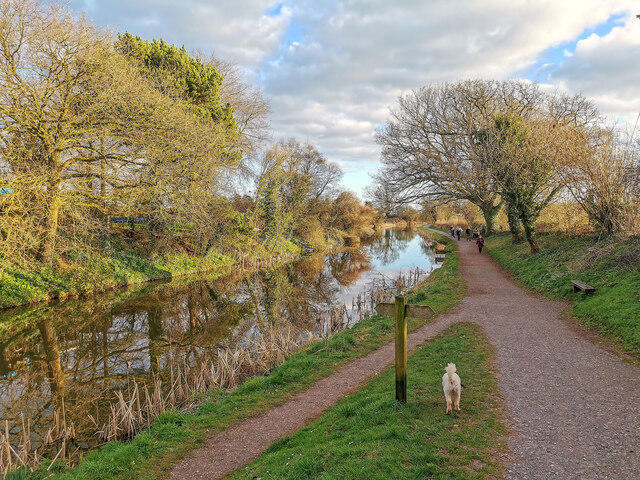
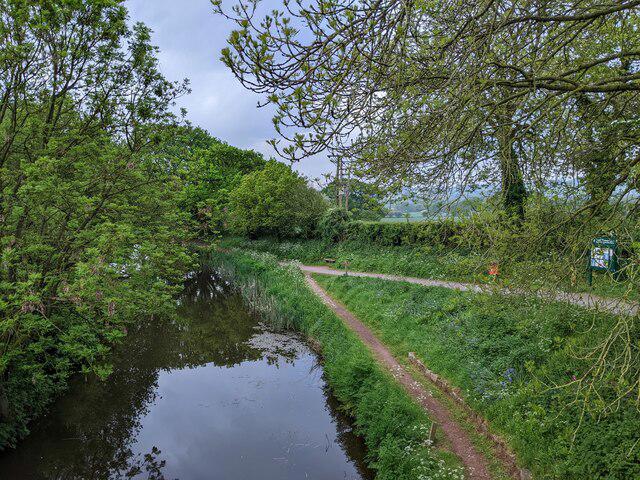
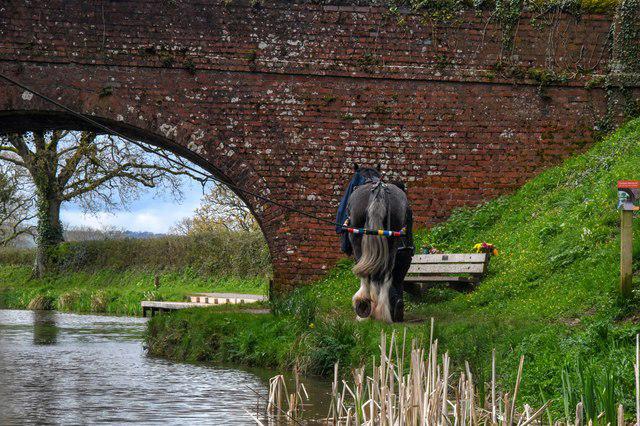
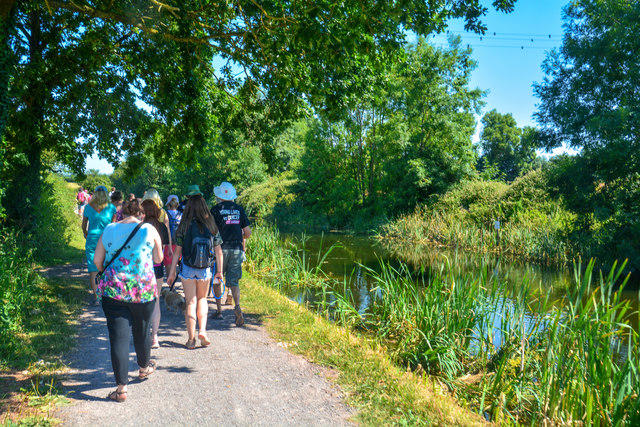
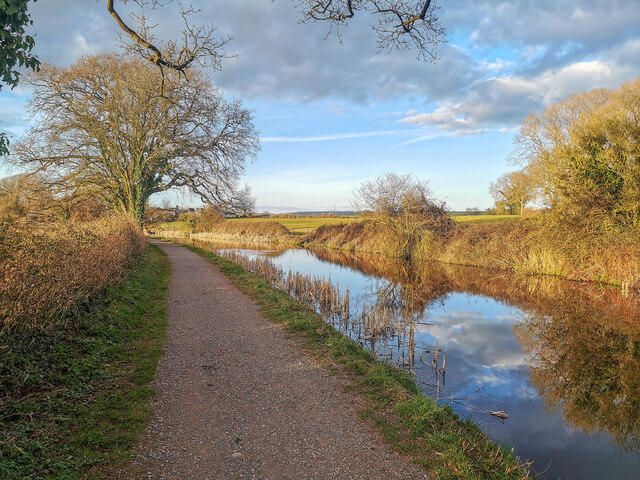
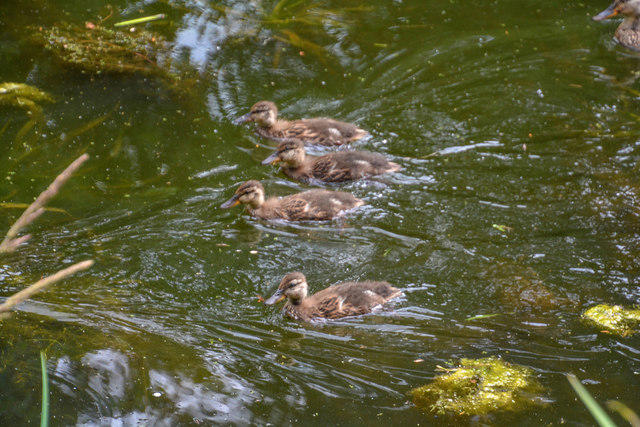
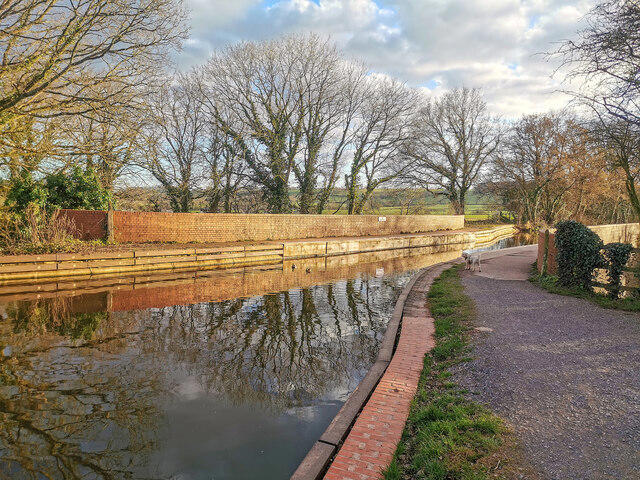
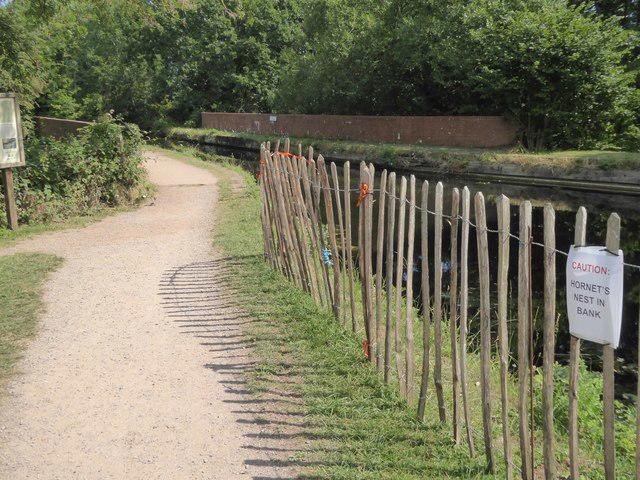
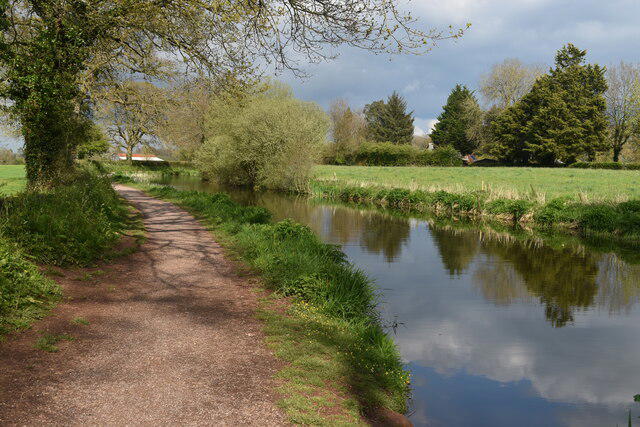
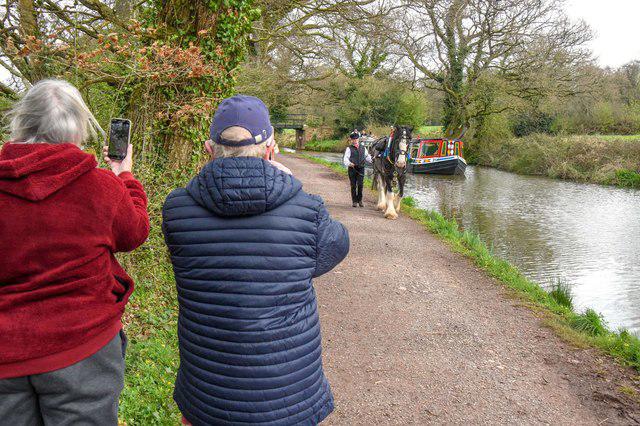
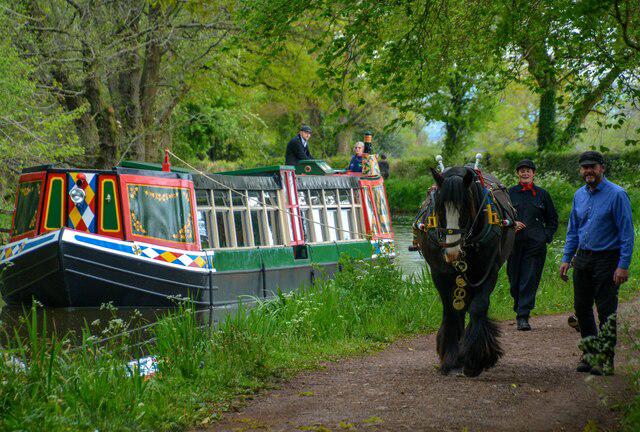
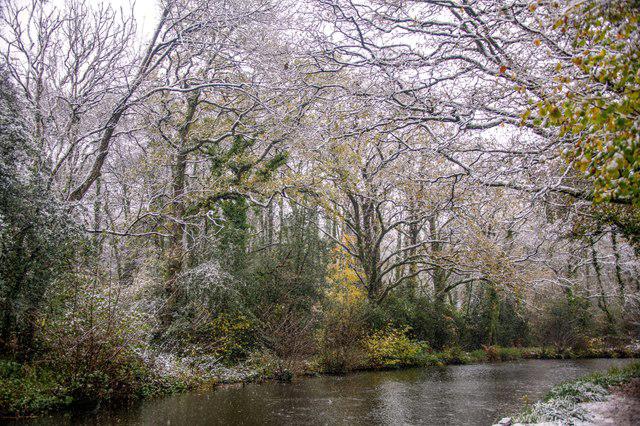
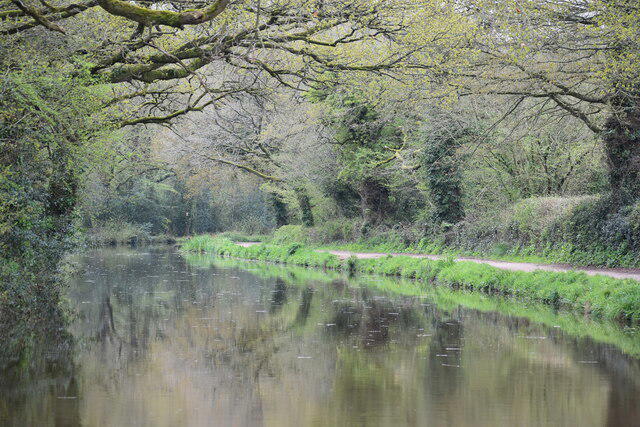
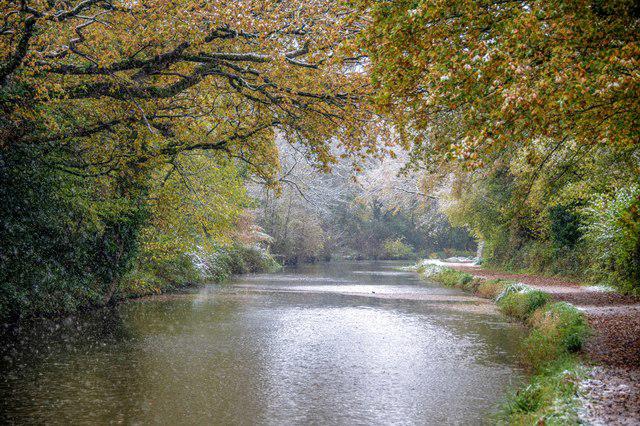
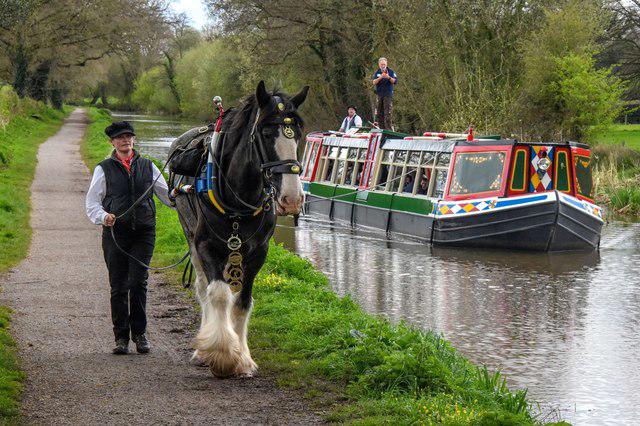
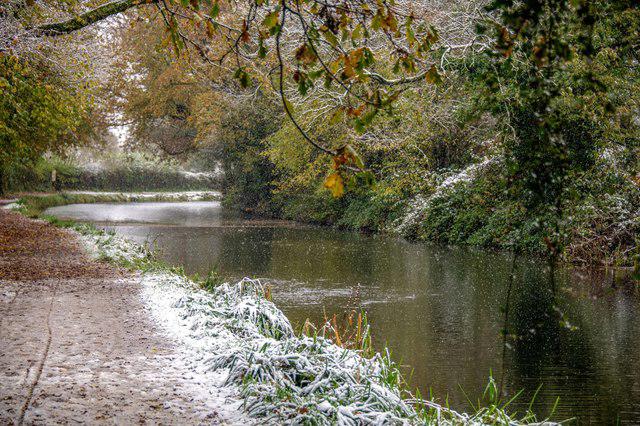
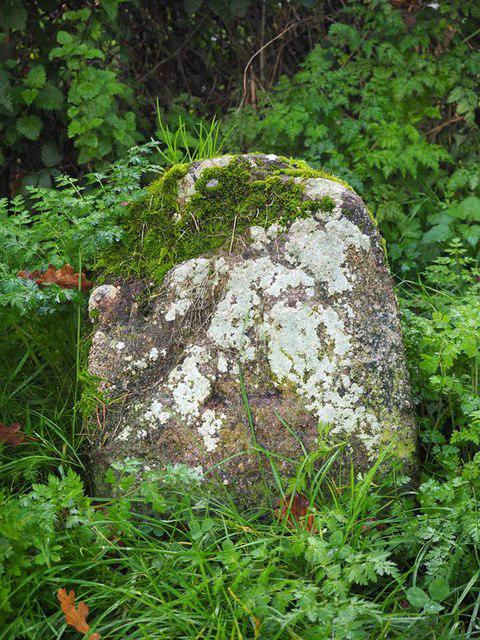
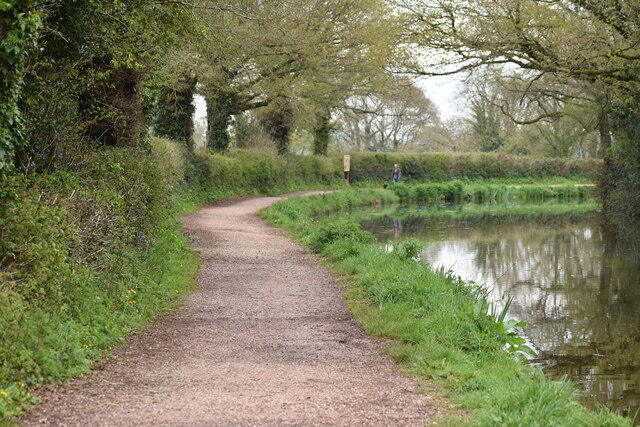
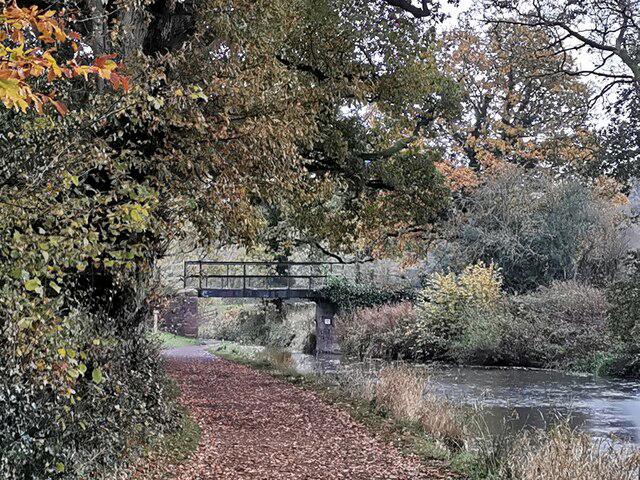
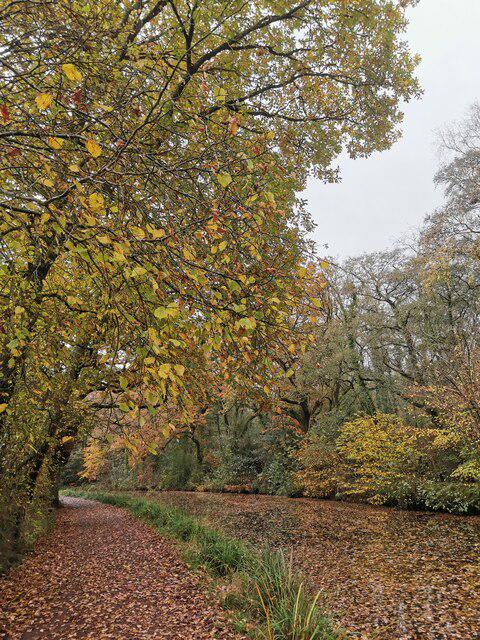
131 photos from Tiverton Grand Western Canal: Crownhill Bridge Return
David Martin Photo source
 Walkmates
131 photos from Tiverton Grand Western Canal: Crownhill Bridge Return