Out & back
Medium
Photo Gallery
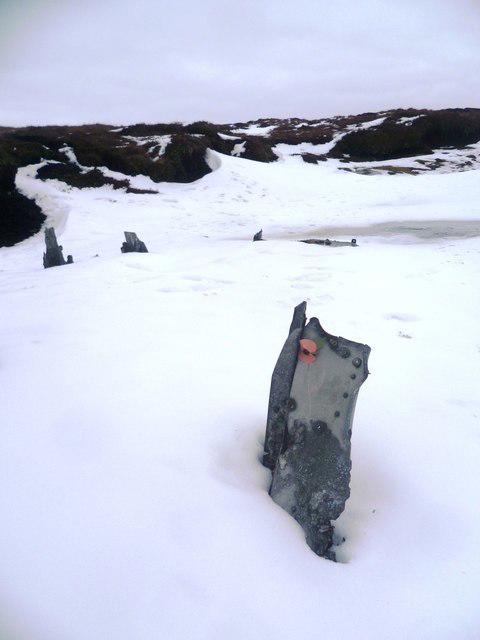
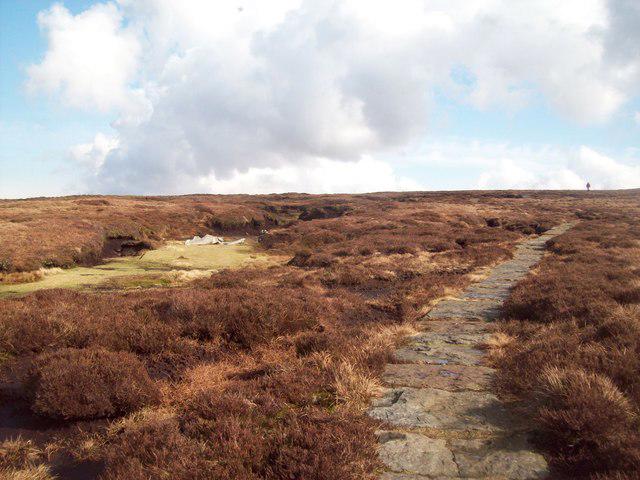
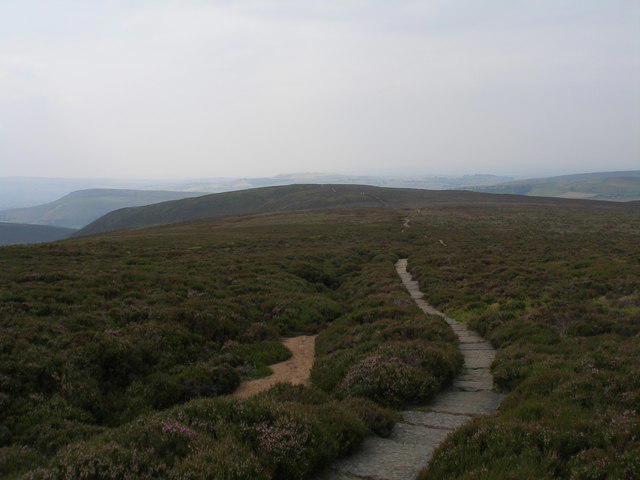
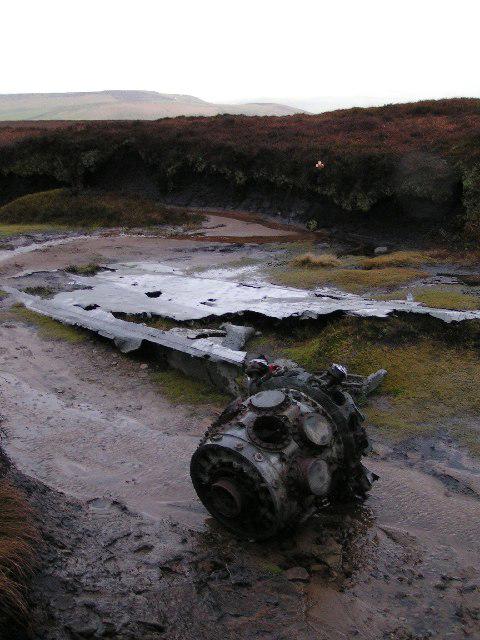
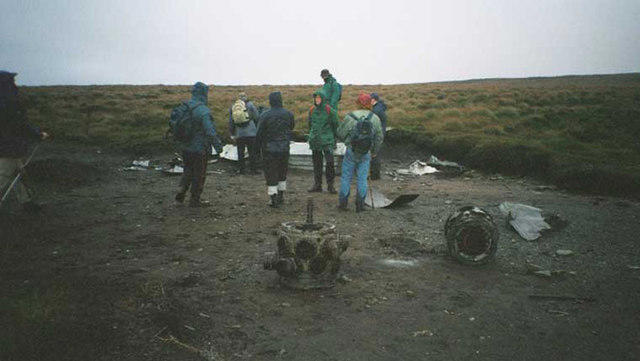
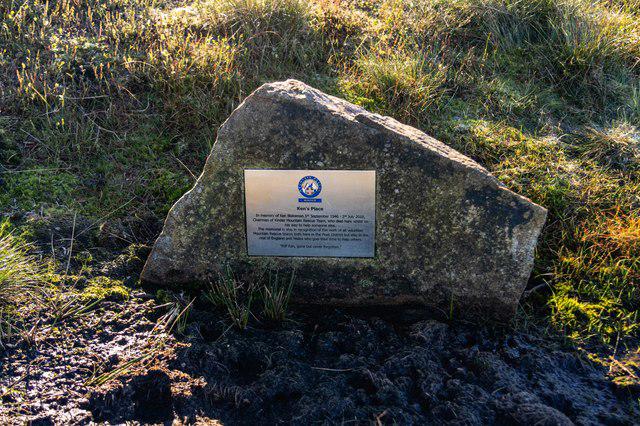
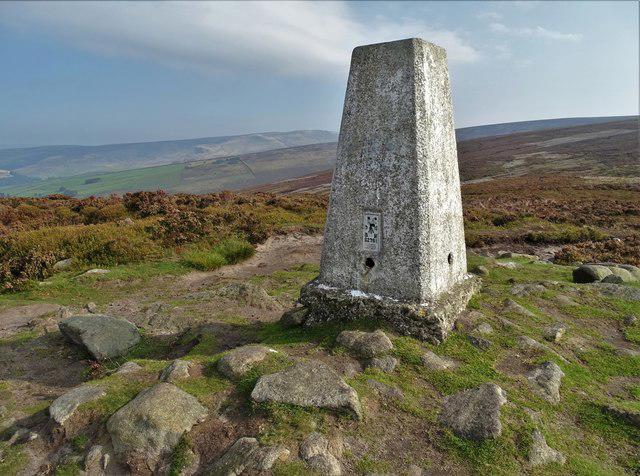
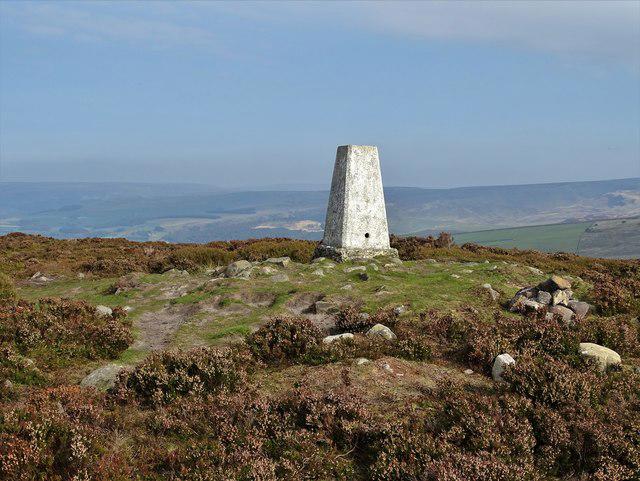
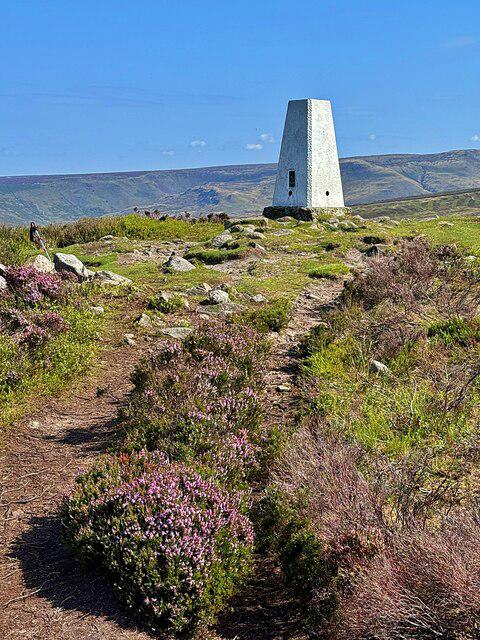
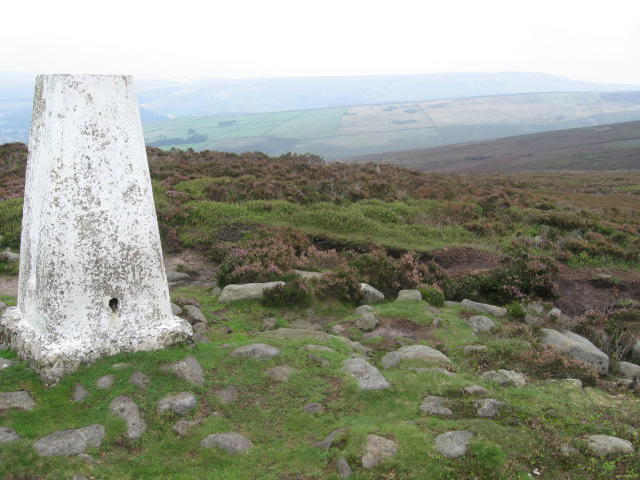
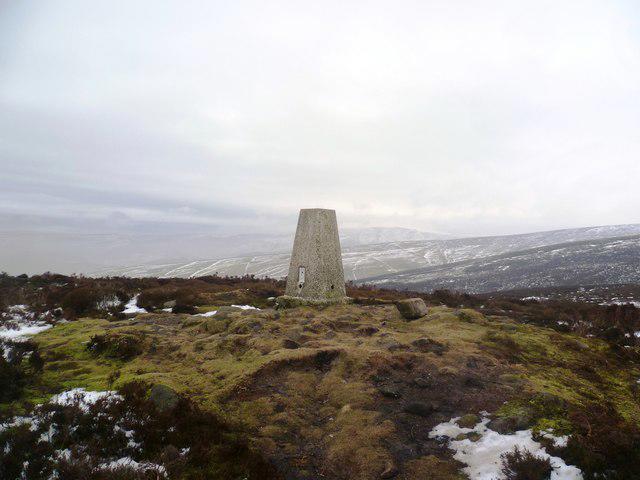
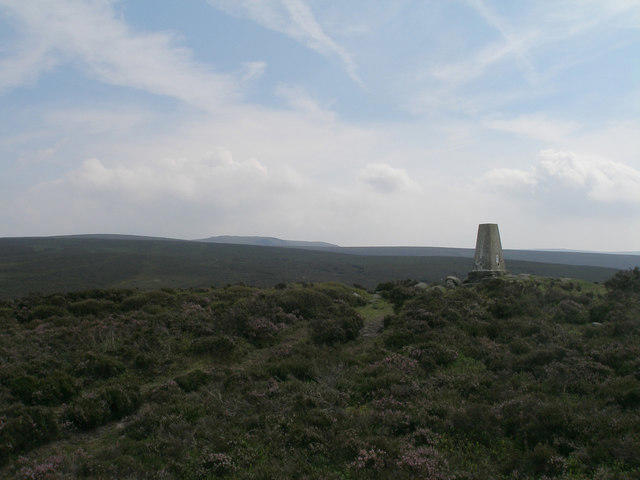
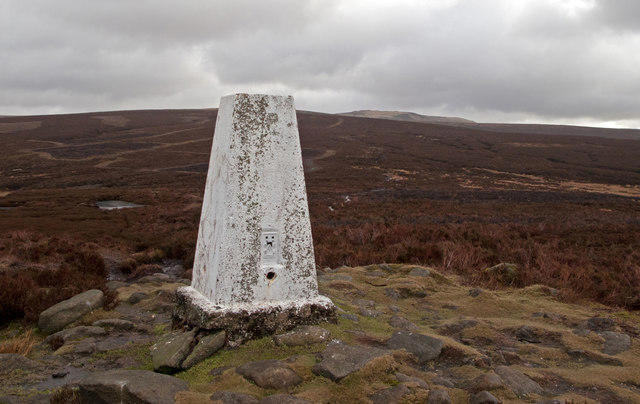
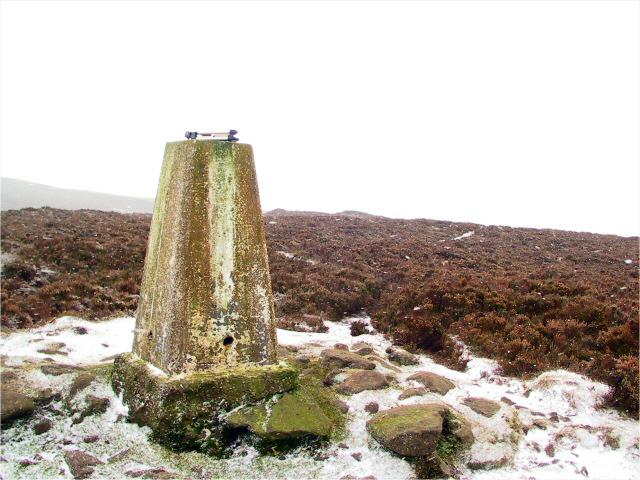
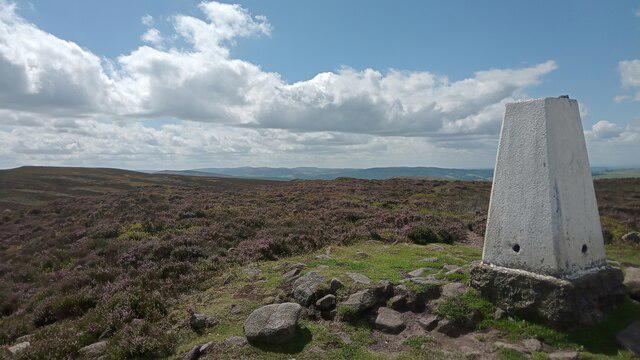
35 photos from Mill Hill Liberator Wreckage via Harry Hut
 Walkmates
35 photos from Mill Hill Liberator Wreckage via Harry Hut