Out & back
Easy
Photo Gallery
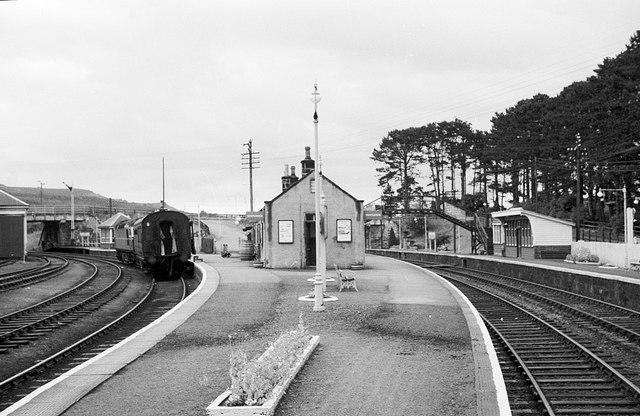
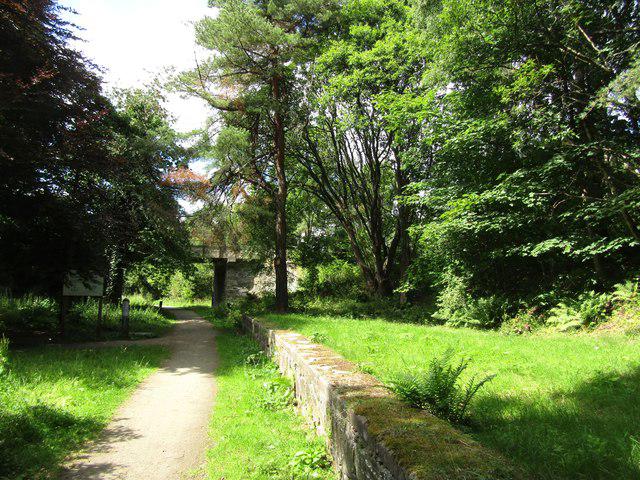
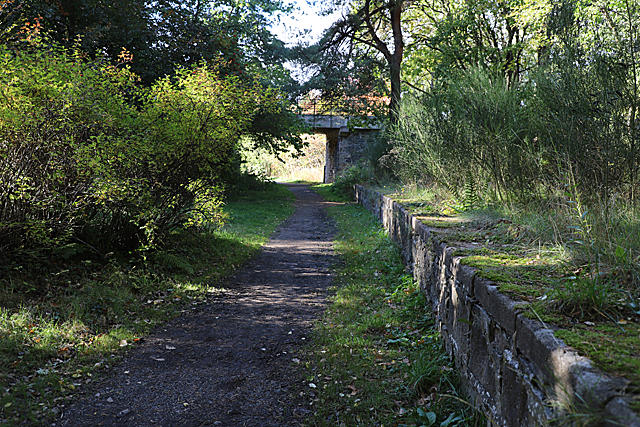
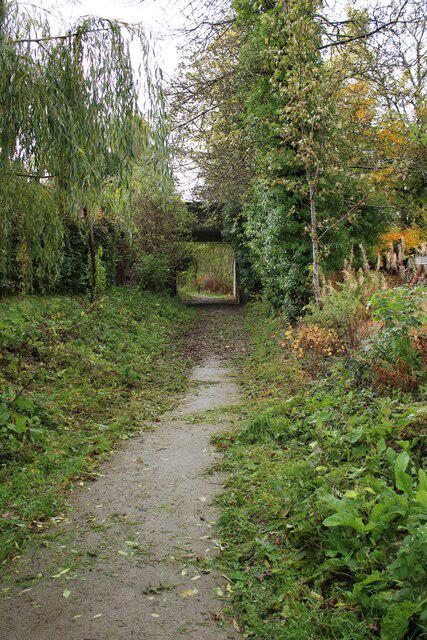
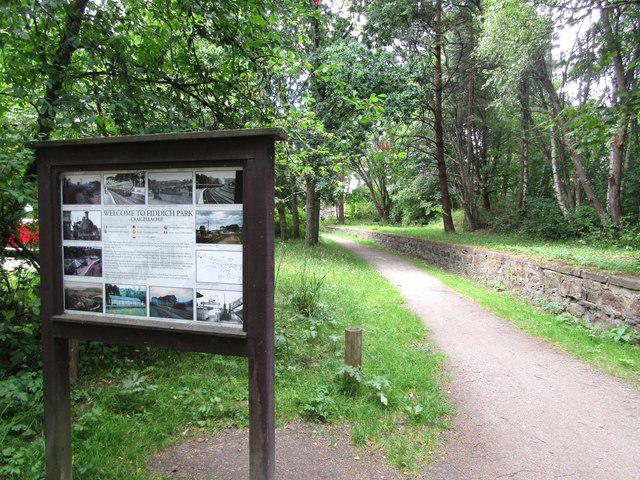
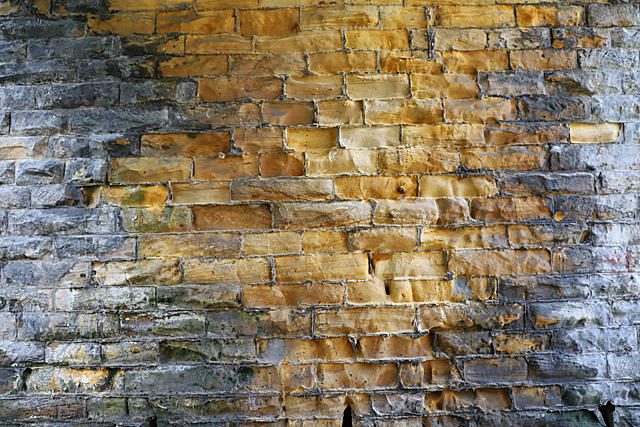
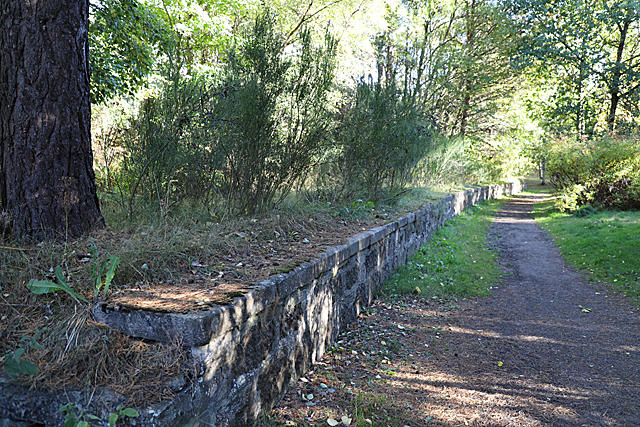
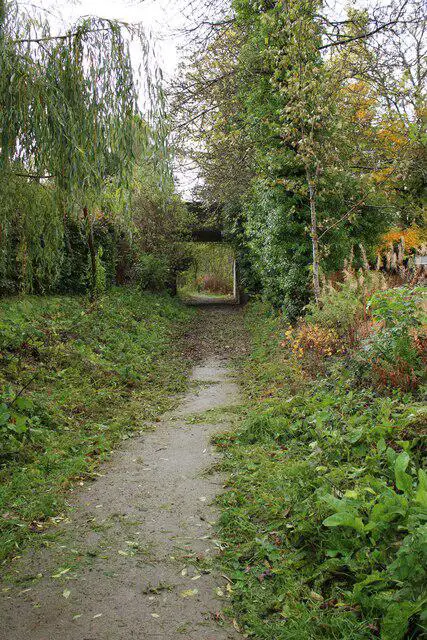
90 photos from Craigellachie to Aberlour: Speyside Railway Path Return
Richard Sutcliffe Photo source
 Walkmates
90 photos from Craigellachie to Aberlour: Speyside Railway Path Return