Point to point
Easy
Photo Gallery
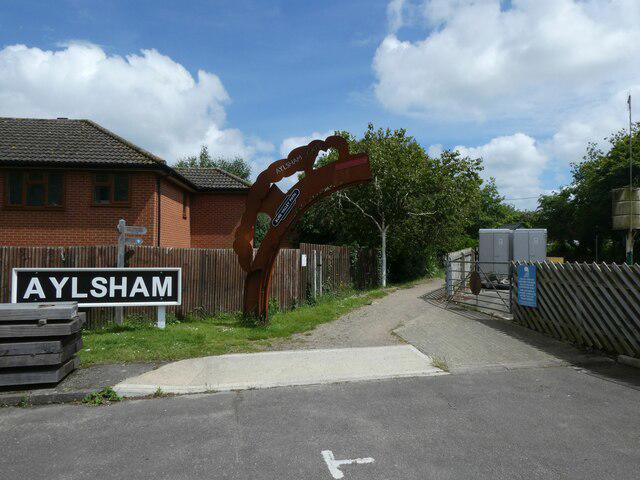
141 photos from Bure Valley Path: Aylsham to Wroxham
 Walkmates
141 photos from Bure Valley Path: Aylsham to Wroxham